After having a delicious pizza cooked in just a few minutes in my nephew's breeze block pizza oven, I wanted to be able do this.

There are plenty of drawings, sketches and photos covering all aspects of the task, as well as a section on making bread. All dimensions, proportions and materials are given, as well as info on earth ovens used around the world.
The base
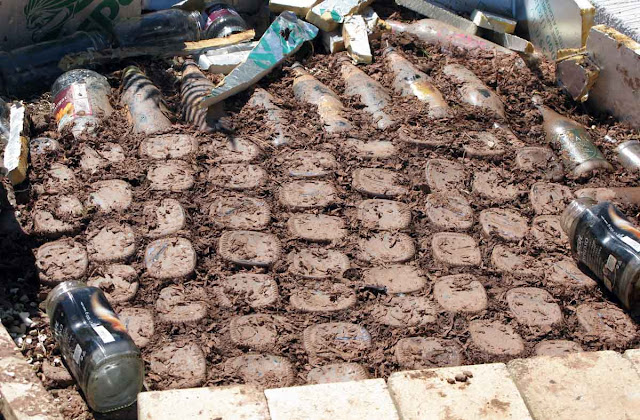
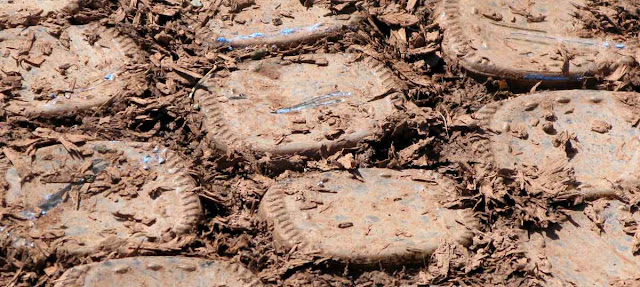
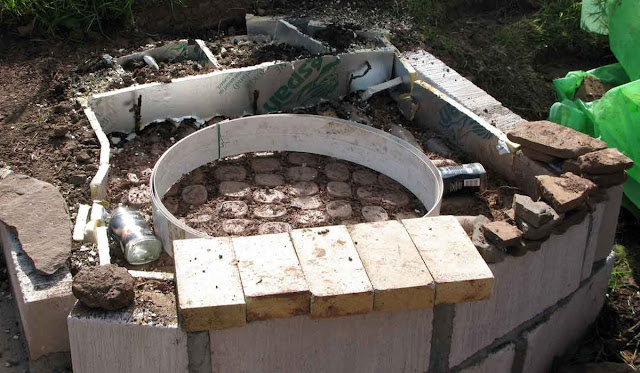
First stage is construction of the base, which is well insulated using empty bottles and jars packed together with a clay and straw mixture. (we particularly like one brand of coffee here, so its jars made up the bulk of the insulation.)
The insulated base will help retain the heat in the oven floor (for crispy bases on pizzas).
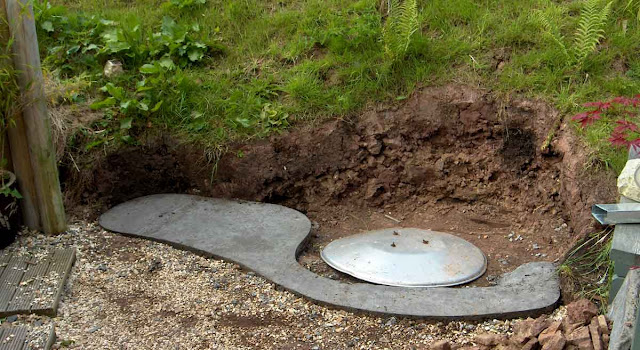
Digging out the bank and laying a foundation (shaped with a length of plastic bent into a curves and pegged in position). The metal disk is the top of a patio lamp that fell over and broke. It's used here as a guide because it's the approximate diameter that the oven will be.
Breeze block wall to contain the base insulation. Paving slabs for seats, with fuel wood storage under them.
We have a lot of clay here below the topsoil, so the main material was right on hand.
Pummel the dried clay to smash the lumps. (Makes mixing easier.)
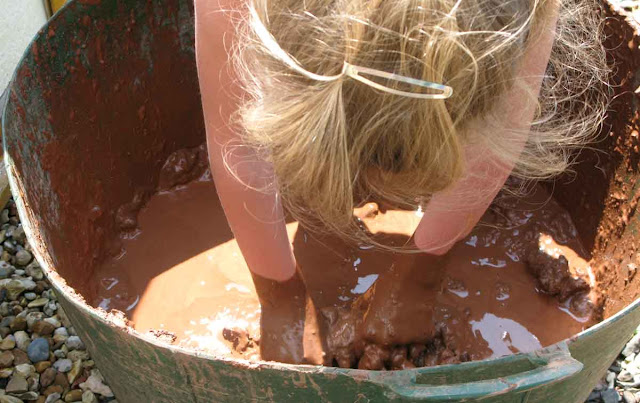
Clay mixed with water.
Helpers are willing.
Insulation mix: wet clay mixed with wood chips. Wood chips, shavings, straw - any would do the job.
The base is filled with empty glass bottles and jars (with lids removed) packed together with the insulation mix.
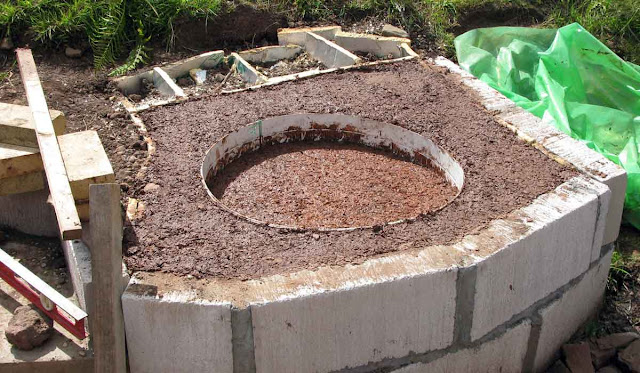
The area under the oven floor is to be four inch thick solid clay, so we ringed that area with a plastic strip to act as a mould for the clay. Bottles and insulation mix were packed around the oustide of the ring.
(The insulation board seen in the picture is some that we used for edges because we had it handy, left over from a previous job.)
Ready for the clay pad.
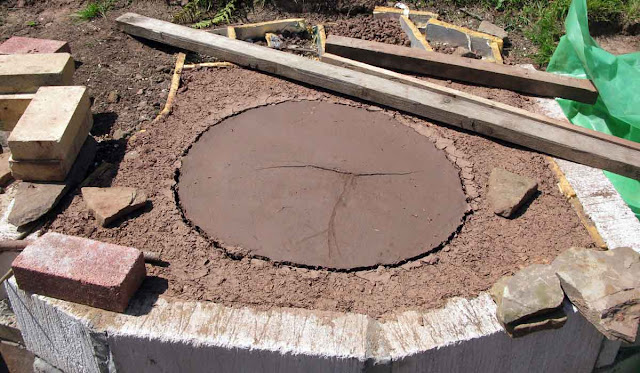
The pad set. Cracks are inevitable. We filled them afterwards.
A thick layer of clay spread over the top. This brings the level up ready to receive the firebricks for the oven floor.
More cracks.
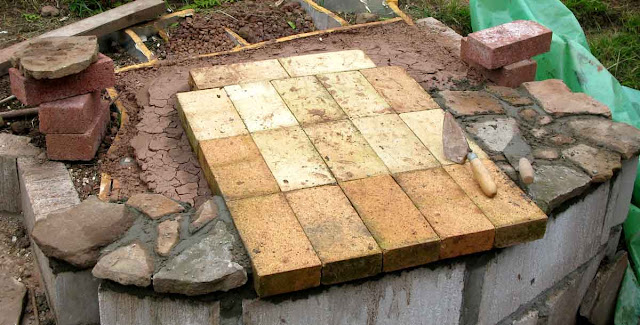
Firebricks laid for the oven floor then, around them, outside the oven floor itself, rocks that have been dug up from the ground here.
Making an earth oven. Part 2
Making an earth oven. Part 3
See all Parts.





No comments:
Post a Comment