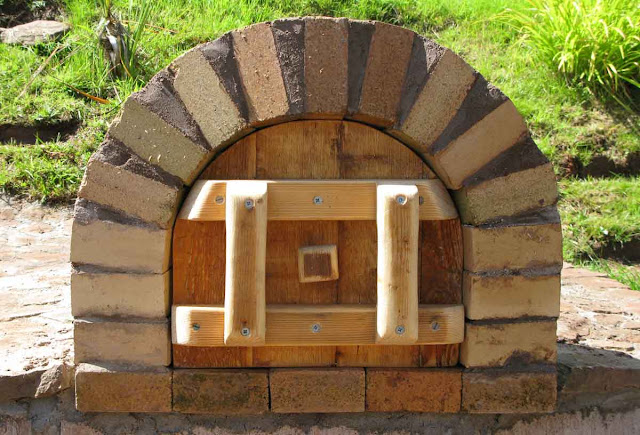
The wood used for the door. Four pieces glued and dowelled together.
The finished door.
Arch built around door.
The finished arch.
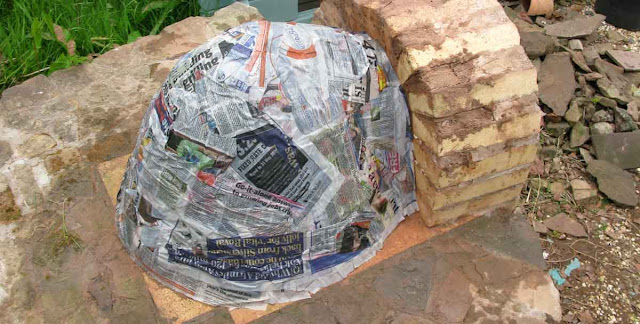
The inside shape for the oven is made from damp sand (we used bricks as well to save sand). This is covered with newspaper and dampened.
The sand former for the inside of the oven.
Sand former covered with wet newspaper.
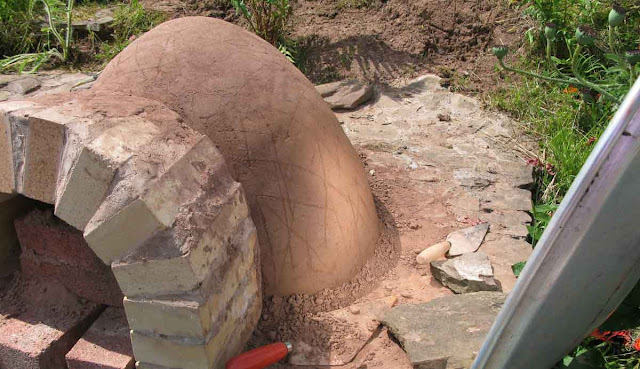
The first core of the oven wall is built around the sand former. The mix is two-and-a-half parts sand to one of clay, packed down to make a four inch thick wall.
Using our old patio lamp reflector to aim the sun to dry the dark side.

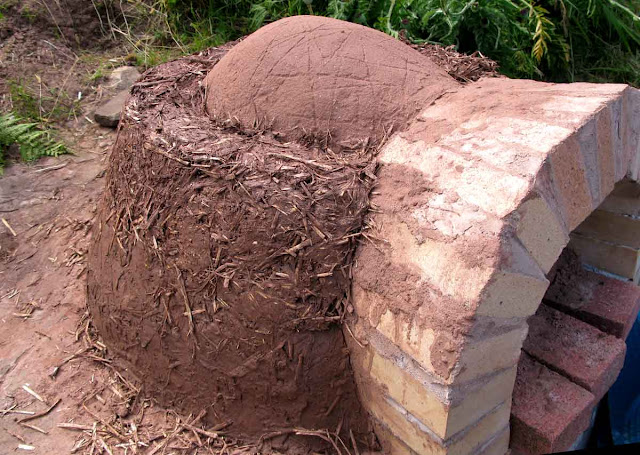
When the clay and sand layer is pretty much dry, an insulation layer is built around it of straw mixed with sufficient clay to bond it; again four inches thick.
The mix for the insulation layer.
The sand and bricks are removed from inside the oven.
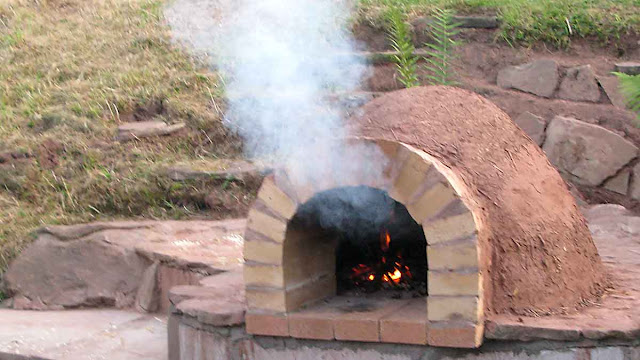
First fires to help drying out.
No chimney needed - draught goes in through the bottom, smoke comes out at the top. According to the book, this works because of the relative proportions of the oven and doorway.
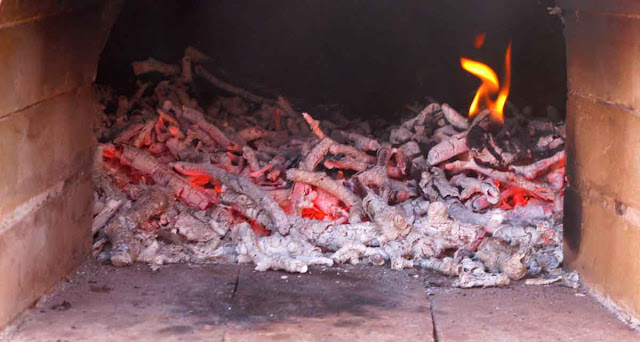
Full fire burning to fully heat oven.
A temporary 'peel', as the flat wooden spade is called that is used to insert the dough and bring out the pizzas or bread, made here from two planks of cladding stapled together.
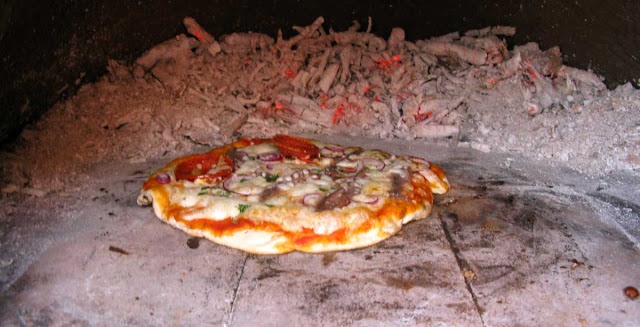
Cinders pushed to back and first pizza cooking.
Three minutes later.
Soda bread, baked for 20 minutes with cinders scraped out and with door in place.
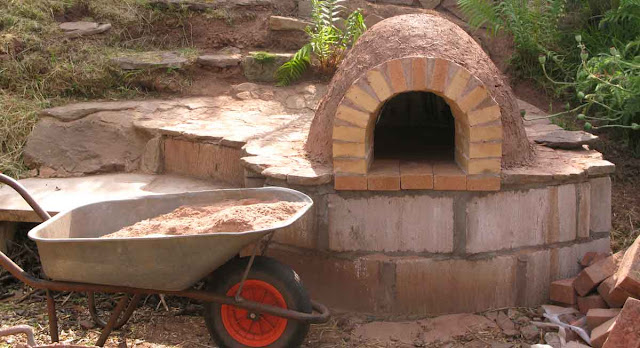
We have more work to do to fully finish the oven. We have lime and sand here waiting for good weather so that we can apply a layer of finishing plaster. We need to use lime, because, like the clay, it breathes. Even then, though, the oven will not stand up to the English rain, so we have to make a cover, a roof, for it. Also, the breeze blocks at the front are to be clad with local stone. Waiting for sunshine.
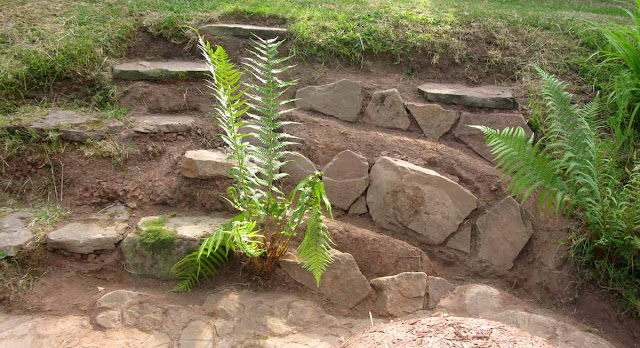
We also have to finish the rockery behind the oven. It has been shaped to carry the water away from the oven and is to be planted with herbs, oregano in particular.
I had a lovely experience on the first day of lighting fires in the oven to help dry it out. In the evening, I lay on my belly over the clay of the oven with my arms round it and my cheek pressed against it, and felt the lovely motherly earth warmth and smell along with the scent of the straw in the clay. This straw smell brought back memories of pet guinea pigs and rabbits, and of days spent playing in barns with country cousins as a child. I didn't want to get up, so lovely was the feeling, and I lay like that for a long time, staring sideways at the late evening sky with a fir tree silhouetted against it.
Making an earth oven. Part 1
Making an earth oven. Part 3
See all Parts.










No comments:
Post a Comment